
| POD parameters : | OpenStack Group-1 | user0 | aio110 | 10.1.64.110 | compute120 | 10.1.64.120 | [email protected] |
| User | aio110 | computeY | Network & Allocation Pool |
|
user0
ssh : [email protected]
vnc : lab.onecloudinc.com:5900
|
aio110
eth0 : 10.1.64.110
eth1 : 10.1.65.110
eth2 : ext-net
Netmask : 255.255.255.0
Gateway : 10.1.64.1
|
compute120
eth0 : 10.1.64.120
eth1 : 10.1.65.120
eth2 : ext-net
Netmask : 255.255.255.0
|
Float Range : 10.1.65.00 – 10.1.65.00
Network : 10.1.65.0/24
Gateway : 10.1.65.1
DNS : 10.1.1.92
|
Introduction
Docker helps user to create a single deployable unit for user application. This unit, also called a container, contains everything required for the application. This includes the code (or binary), runtime, system tools and system libraries. Packing all the requirements into a single unit ensures an identical environment for the application, wherever it is deployed. This can also help in maintaining identical development and production setups that are difficult to track.
Once up, the creation and deployment of the container can be automated. This eliminates a whole class of issues. Most of these issues arise due to files being out of sync or due to differences in the development and production environments. Docker helps resolve these issues.
In this lab, we will learn how to deploy a web application with Docker, and how Docker can help improve development workflow and deployment process.
As with the previous labs, you will need to SSH the aio node.
If you have logged out, SSH into your AIO node:
ssh centos@aio110
If asked, the user password (as with the sudo password) would be centos, then become root via the sudo password:
sudo su –
1. Prerequisites
Why to use Docker with a Web Application?
- Web applications typically have template and configuration files.
- Docker ensures identical setups in development and production. There are times when an application works in development, but not in production. Using Docker frees user from having to worry about problems like these.
- Machines, operating systems and installed software can vary significantly across a large team. Docker provides a mechanism to ensure a consistent development setup. This makes teams more productive and reduces friction and avoidable issues during development.
2. Static Web App
Let’s start by taking few-steps. We’re going to look at is how we can run a simple static website. We’re going to pull a Docker image from Docker Hub, run the container and see how easy it is to run a webserver.
- Let’s begin. The image that we are going to use is a single-page website we can pull from docker registry onecloudtest/static-site. We can download and run the image directly in one go using docker run.
- Well in this case, the client is not exposing any ports so we need to re-run the docker run command to publish ports. While we’re at it, we should also find a way so that our terminal is not attached to the running container. This way, we can close terminal and keep the container running. This is called detached mode.
- Now need to do port forwarding
- source port:8080
destination: aio110:80 - source port:32769
destination: aio110:32769 - Open http://localhost:32769in browser.
docker run onecloudtest/static-siteSince the image doesn’t exist locally, the client will first fetch the image from the registry and then run the image. If all goes well, should see a Nginx is running… message in terminal. Now the serve is running.
docker run -d -P --name static-site onecloudtest/static-siteOutput:
e61d12292d69556eabe2a44c16cbd54486b2527e2ce4f95438e504afb7b02810In the above command, -d will detach terminal, -P will publish all exposed ports to random ports and finally –name corresponds to a name we want to give. Now we can see the ports by running the docker port [CONTAINER] command.
docker port static-siteOutput:
80/tcp -> 0.0.0.0:32769
443/tcp -> 0.0.0.0:32768http://localhost:32769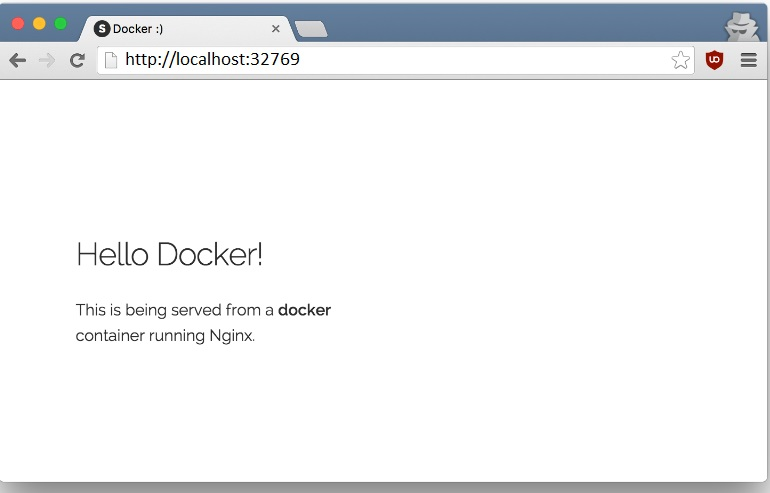
3. Deploying WordPress with Docker
The WordPress application we’re going to deploy is composed of two services:
- wordpress: The container that runs Apache, PHP, and WordPress.
- db: A MariaDB database used for data persistence.
WordPress is one of the most popular content management software (CMS) due to its multitude of features and ease of use. However, setting up a new web host environment can be time consuming especially if we need to do it often. Simplifying the installation process to a few fast commands greatly reduce the time and effort required, this is where Docker comes in.
- Run the usual update command for system to make sure have the latest source lists.
- Check that have the curl command line utility.
- If in case the curl command not found install it
yum update -ycurl -VOutput:
curl 7.29.0 (x86_64-redhat-linux-gnu) libcurl/7.29.0 NSS/3.19.1 Basic ECC zlib/1.2.7 libidn/1.28 libssh2/1.4.3
Protocols: dict file ftp ftps gopher http https imap imaps ldap ldaps pop3 pop3s rtsp scp sftp smtp smtps telnet tftp
Features: AsynchDNS GSS-Negotiate IDN IPv6 Largefile NTLM NTLM_WB SSL libz
yum install curl -y3.1 MariaDB in a container
Before installing WordPress with Docker need to have somewhere to store the data. MariaDB is a community-developed relational database management system and a drop-in replacement for MySQL.
- Start of by making a new directory where to store the files for WordPress and MariaDB for example in home directory.
- Then run the command below with the password onecloud.
- Output of mariadb installation.
- If Docker was successful at creating the container, then should see a code at the end of the output similar to the example above. We can confirm that the MariaDB container is running by using the following command: Use the ps command to display the running containers.
- WordPress is also made officially available on Docker Hub, pull the image using with the command below.
- Run the below command with the password onecloud and server IP aio110.
- Then open server’s domain name or IP address in a web browser to test the installation. We should be redirected to the initial WordPress setup page at http://
/wp-admin/install.php. Go through the setup wizard and we are done. - Open http://localhost:8080/ in browser.
- Exit from the directory wordpress.
- To remove all the containers run the below commands.
- To remove all the images run the below commands.
mkdir ~/wordpress && cd ~/wordpressdocker run -e MYSQL_ROOT_PASSWORD=onecloud -e MYSQL_DATABASE=mariadb --name wordpressdb -v "$PWD/database":/var/lib/mysql -d mariadb:latest-e MYSQL_ROOT_PASSWORD – Set password here as onecloud.
-e MYSQL_DATABASE – Creates and names a new database e.g. mariadb:
Docker Parameters:
–name wordpressdb – Names the container.
-v “$PWD/database” :/var/lib/mysql – Creates a data directory linked to the container storage to ensure data persistence.
-d – Tells Docker to run the container in daemon.
mariadb: latest – Finally defines what to install and which version.
...
Status: Downloaded newer image for mariadb:latest
23df0ec2e48beb1fb8704ba612e9eb083f4193ecceb11102bc91232955cccc54docker psdocker pull wordpressdocker run -e WORDPRESS_DB_PASSWORD=onecloud --name wordpress --link wordpressdb:mysql -p 10.1.64.110:80:80 -v "$PWD/html":/var/www/html -d wordpresshttp://localhost:8080/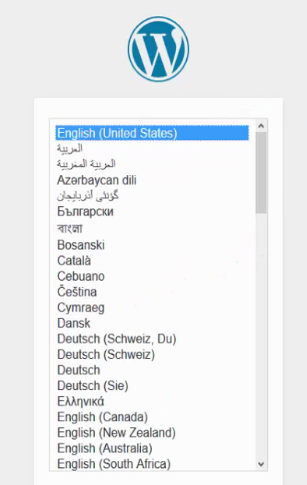
cdLab Cleanup
docker rm `docker ps -a -q` -fdocker rmi `docker images -q` -f