| POD parameters : | OpenStack Group-1 | user0 | aio110 | 10.1.64.110 | compute120 | 10.1.64.120 | [email protected] |
| User | aioX | computeY | Network & Allocation Pool |
|
user0
ssh : [email protected]
vnc : lab.onecloudinc.com:5900
|
aio110
eth0 : 10.1.64.110
eth1 : 10.1.65.110
eth2 : ext-net
Netmask : 255.255.255.0
Gateway : 10.1.64.1
|
compute120
eth0 : 10.1.64.120
eth1 : 10.1.65.120
eth2 : ext-net
Netmask : 255.255.255.0
|
Float Range : 10.1.65.00 – 10.1.65.00
Network : 10.1.65.0/24
Gateway : 10.1.65.1
DNS : 10.1.1.92
|
Introduction
Docker is a great tool for deploying user servers. Docker even has a public registry called Docker Hub to store Docker Images. While Docker let users to upload Docker creations to their Docker Hub for free, anything user upload is also public. This might not be the best option for user project.
This guide will show how to set up and secure own private Docker registry. By the end of this lab will be able to push a custom Docker image to private registry and pull the image securely from a host.
As with the previous labs, you will need to SSH the aio node.
If you have logged out, SSH into your AIO node:
ssh centos@aio110
If asked, the user password (as with the sudo password) would be centos, then become root via the sudo password:
sudo su –
Docker Registry
The Registry is an open source stateless, highly scalable server side application that stores and distribute Docker images.
Why we use Registry?
We should use the Registry if want to:
- Tightly control where images are being stored
- Fully own images distribution pipeline
- Integrate image storage and distribution tightly into in-house development workflow
Here are a few general things should know about setting up a Docker registry:
- Install anywhere: Like most servers, the Docker registry does not need to be installed on client systems. Install it on any Linux system that clients can reach over a network. That’s way, multiple Docker clients can access Docker registry.
- Open port: If Docker registry is not on the client, then must be sure that TCP port 5000 is not being blocked by the firewall where the Docker registry is running.
- Provide space: To push a lot of images to registry, space can fill up quickly. For the docker-registry package, stored images are contained in the /var/lib/docker-registry directory. Make sure to configure enough space in that directory to meet user needs, or can configure a different directory.
1. Login User Account
- Docker Hub: https://hub.docker.com/
- Create Docker Hub account (name, email id, password)
- Login with the created credentials in CLI: docker login dockerhub-username
- Login should be succeeded
2. Repository
- Install docker-registry: Install the docker-registry package in Centos, it pulls in more than a dozen dependent packages as well. To install those packages, type the following:
- List docker-registry contents: Use the rpm command to list the contents of the docker-registry file in Centos. There are nearly 200 files (mostly python code in the package). This command shows only documentation and configuration:
- Start the docker-registry service: To do any special configuration for Docker registry, refer to the next sections before starting the service. For a simple docker-registry installation, however, simply start the service and begin using it, as follows (as the status shows, the docker-registry service is active and enabled):
- Allow access to registry: The docker clients in Fedora and Red Hat Enterprise Linux require that either obtain a certificate from the registry or identify the registry as insecure. For this example, identify the registry as insecure by editing the /etc/sysconfig/docker-registry file and creating the following lines in that file:
- Tag the image: Use docker tag to give the image a name that can use to push it to the Docker registry on the local system:
- Push the image: To push the hello-world to the local Docker registry, type the following:
- Pull the image: To make sure retrieve the image from the registry, in the second terminal, remove the image from system, then try to retrieve it from local registry:
yum install docker-registry -yrpm -ql docker-registry | grep -E "(/etc)|(/usr/share)|(systemd)"firewall-cmd –zone=public –add-port=5000/tcp
firewall-cmd –zone=public –add-port=5000/tcp –permanent
firewall-cmd –zone=public –list-ports 5000/tcp
systemctl enable docker-registry
systemctl start docker-registry
systemctl status docker-registryEdit the /etc/sysconfig/docker-registry
cat >> /etc/sysconfig/docker-registry <<EOF
ADD_REGISTRY='--add-registry localhost:5000'
INSECURE_REGISTRY='--insecure-registry localhost:5000'
EOF
After that, restart the local Docker service:
systemctl restart docker-registrydocker pull onecloudtest/static-site
docker imagesdocker tag onecloudtest/static-site localhost:5000/testimage:latestdocker push localhost:5000/testimage:latestfind / - name imagenamedocker rmi `docker images -q` -f
docker pull localhost:5000/testimage:latest
docker imagesIn this example just shown, the image was successfully pushed to and pulled from the local repository.
3. Managing Docker Hub using GUI
The Docker Hub is a site where user store and share images they create.
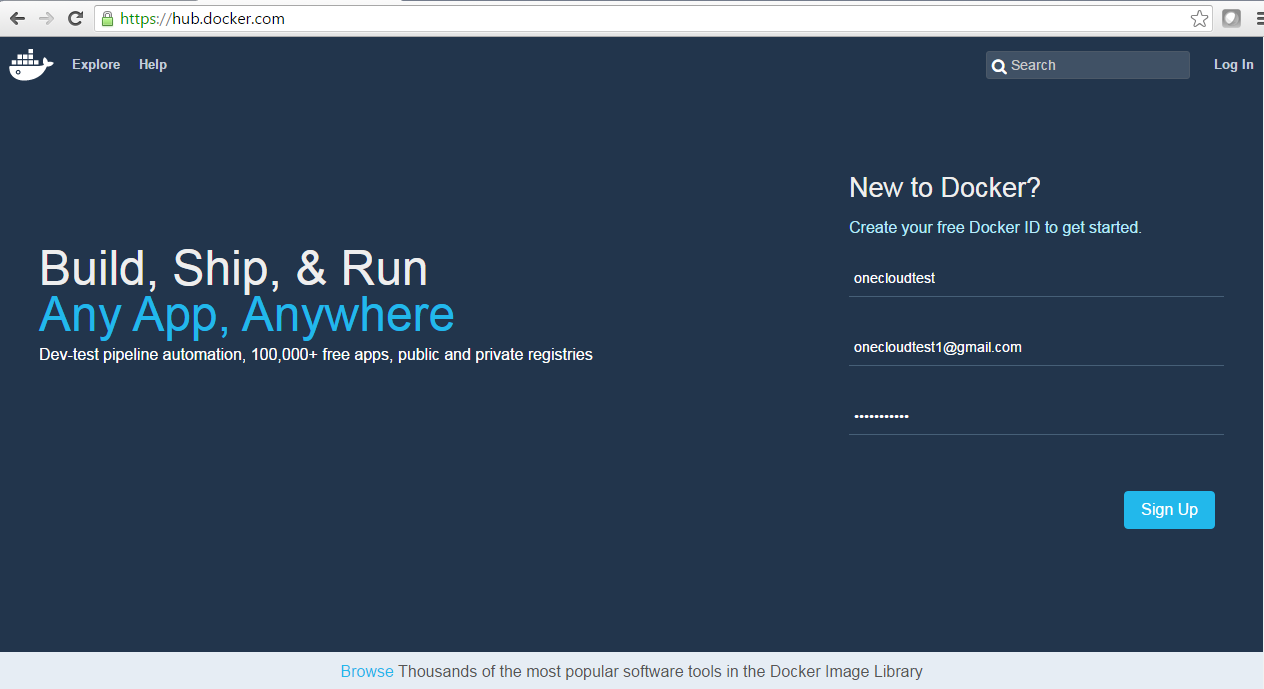
- Docker Hub user account creation
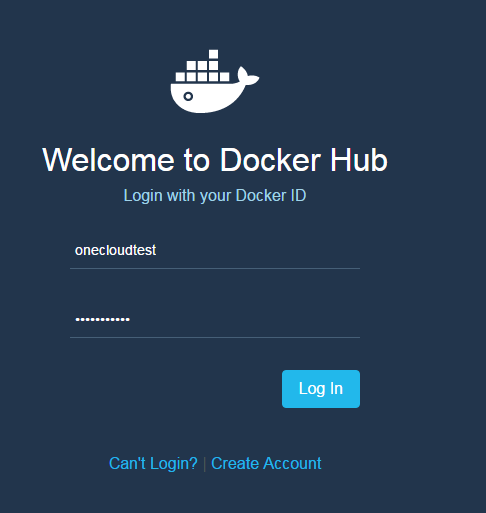
- LOGIN page
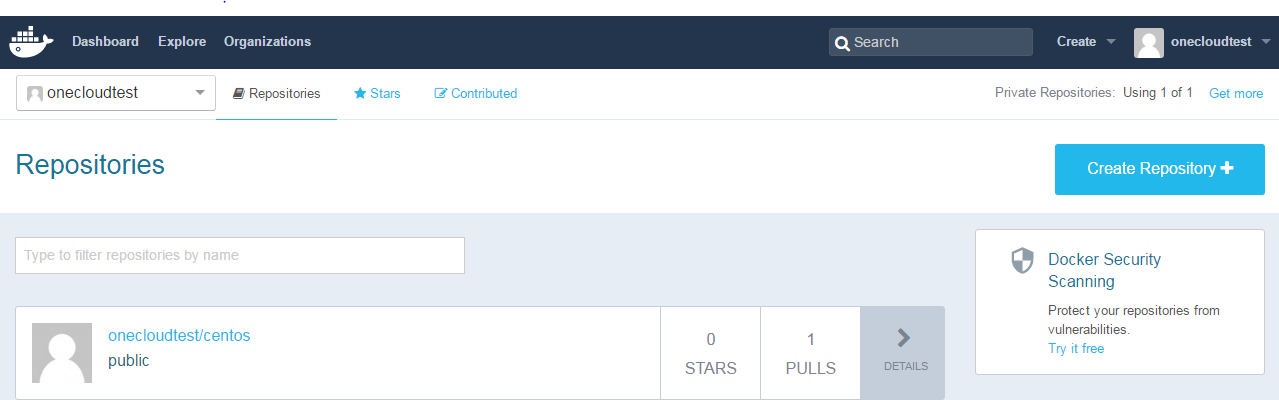
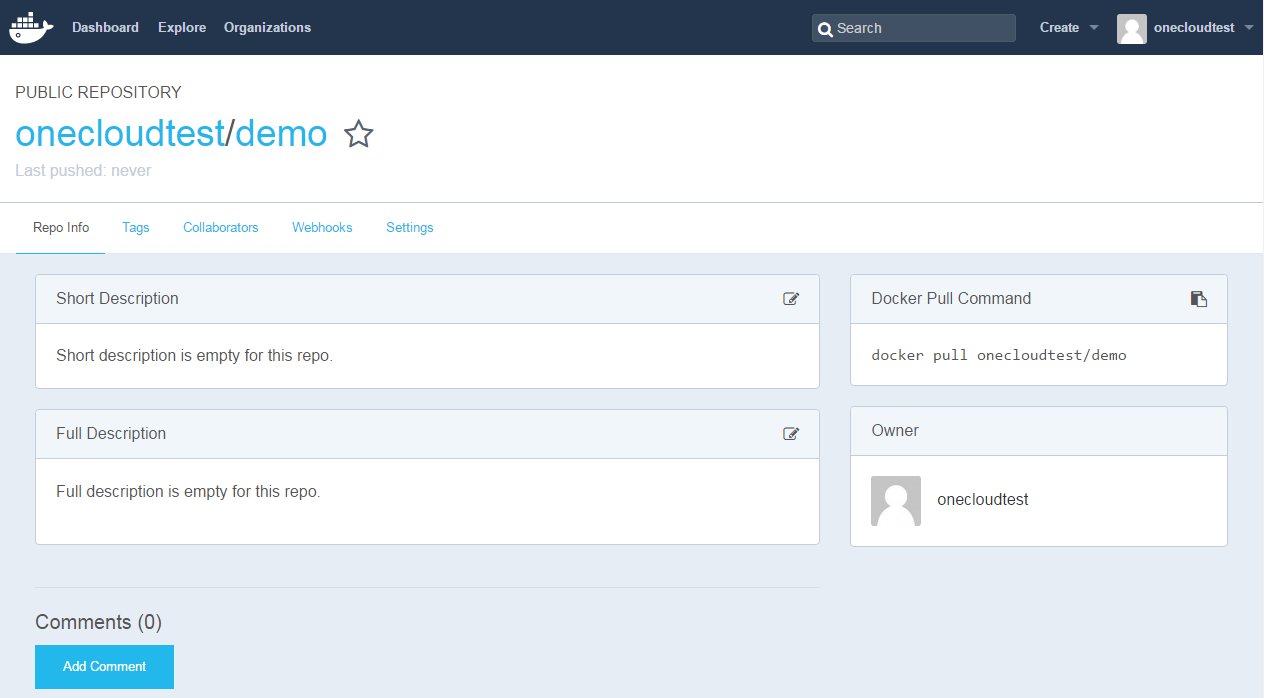
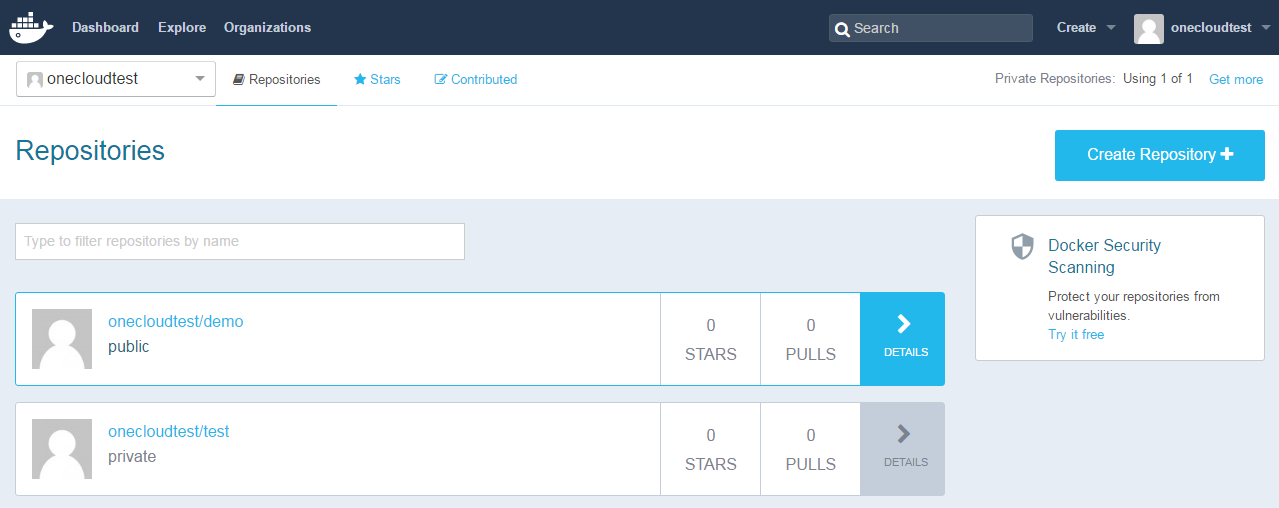
- Repository page
-
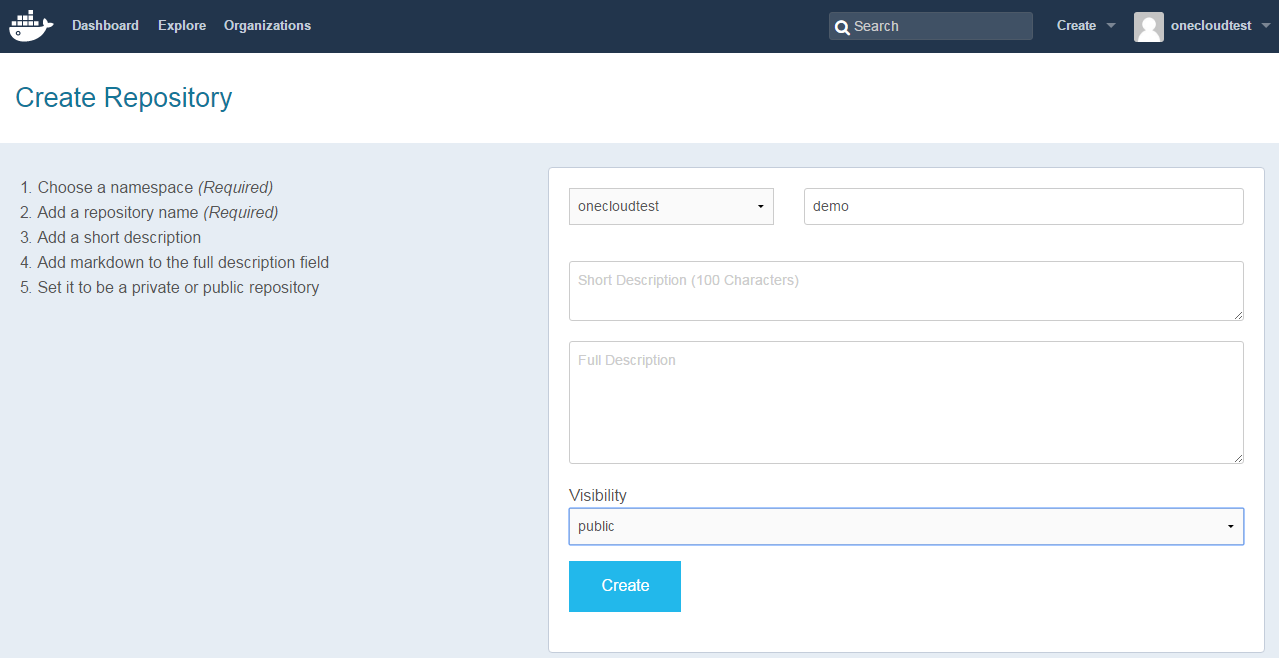
Creating a public repository by name “demo”.
-
Creating a private repository by name “test”.
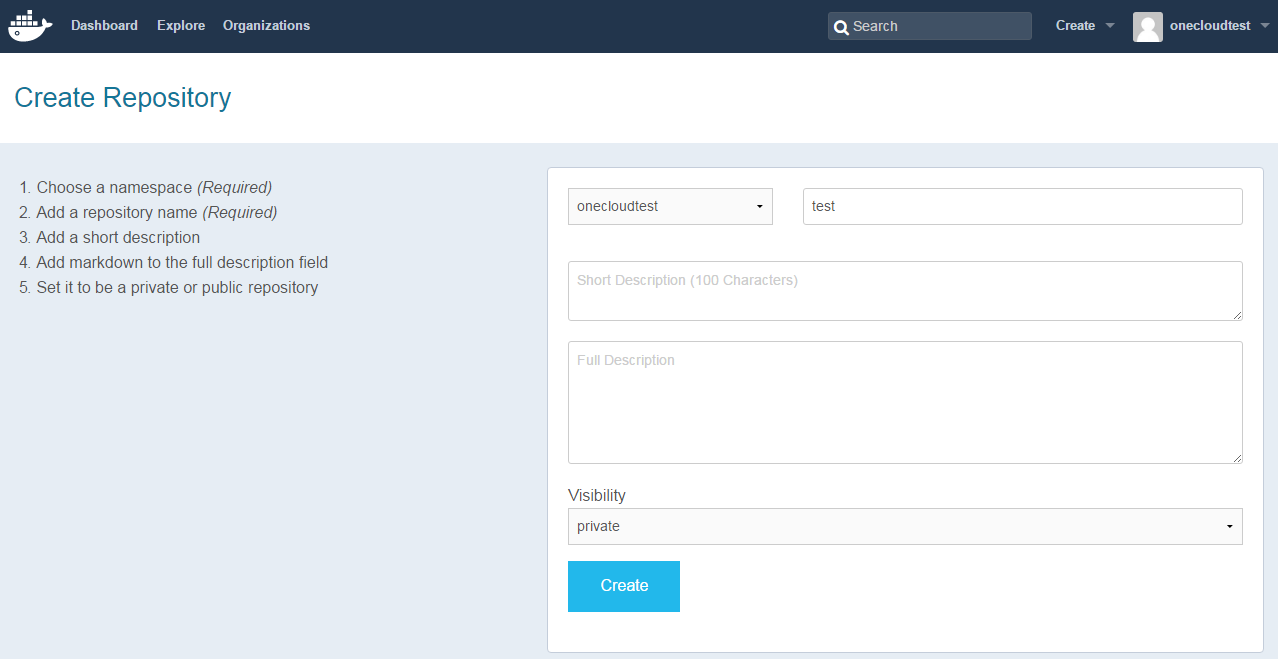
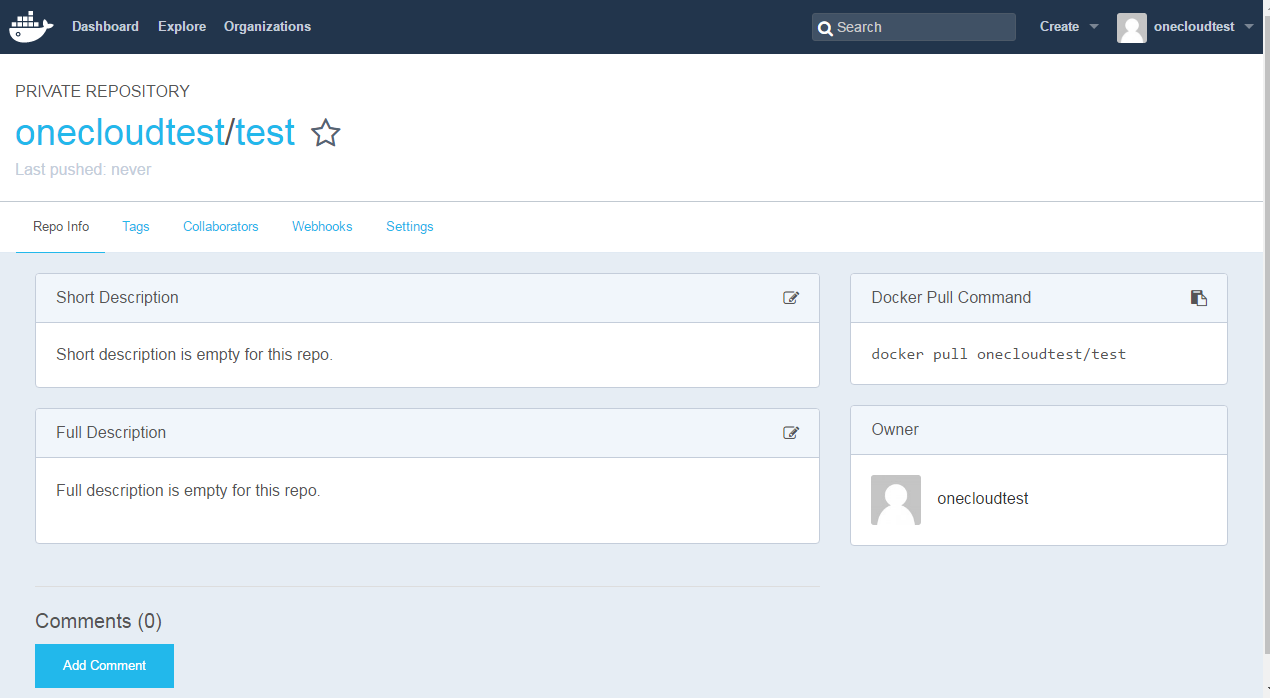
Private repositories allow to have repositories that contain images that you can keep private, either to your account or within an organization or group. Once the private repository is created, you can push and pull images to and from it using Docker.
- List of created repositories.
- To push image into Docker Hub Account
The first to using Docker Hub is to sign up, which can do on passwod. You’ll be asked for an email address, username, and a password. A verification email is sent to this address to activate account. You cannot log in to Docker Hub until verification is done through the email.
Confirm email: Once filled in the registration form, check email for a welcome message asking for confirmation so can activate account.
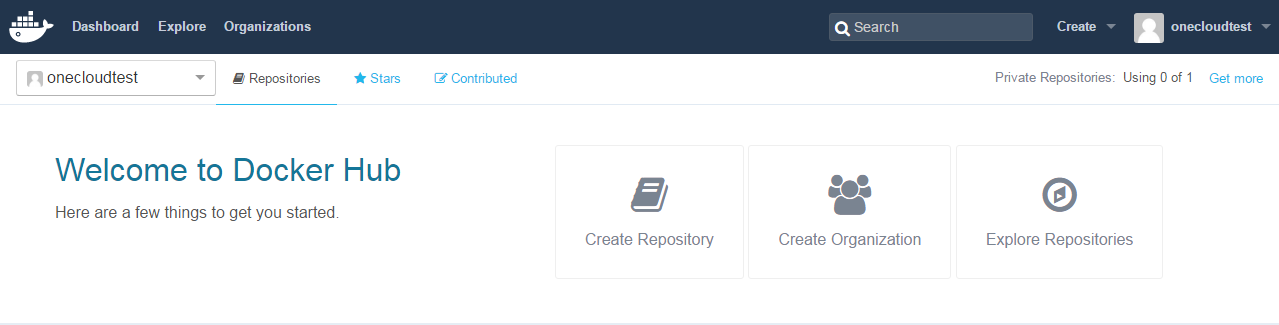
After the account creation process, you can log in using the web console with your Docker Hub username. Once login, you can see a dashboard.
Docker Hub repositories let us to share images with co-workers, customers, or with the Docker community at large. In this page you can create own repository, create organization & explore repositories.
Creating a new repository on Docker Hub:
When you create a Docker Hub account, you will get a “Get started with Docker Hub” screen, from which you can redirect to “Create Repository”.
Click on the create, you will be able to see the Dashboard as shown below.


Let’s try to push an image to the hub. You must be logged in to push images. If you’re not already logged in, Docker will prompt you for credentials. To push to the Docker Hub, you must specify a username and password through CLI.
Syntax
docker tag image-id dockehub-username/image-name:latestdocker tag localhost:5000/testimage onecloudtest/images:aio110Syntax
docker login --username=dockerhub-username --email=user-email-iddocker login --username=onecloudtestSyntax
docker push dockerhub-username/image-namedocker push onecloudtest/images:aio110